Prefer to watch? Open the Video Library
Short walkthroughs for admins, participants, volunteers, facilitators, vendors and sponsors, recorded in the real app, with chapters you can jump between.
Section 1
Getting Started
Where to sign in, how to use your PIN, and choosing your journey.
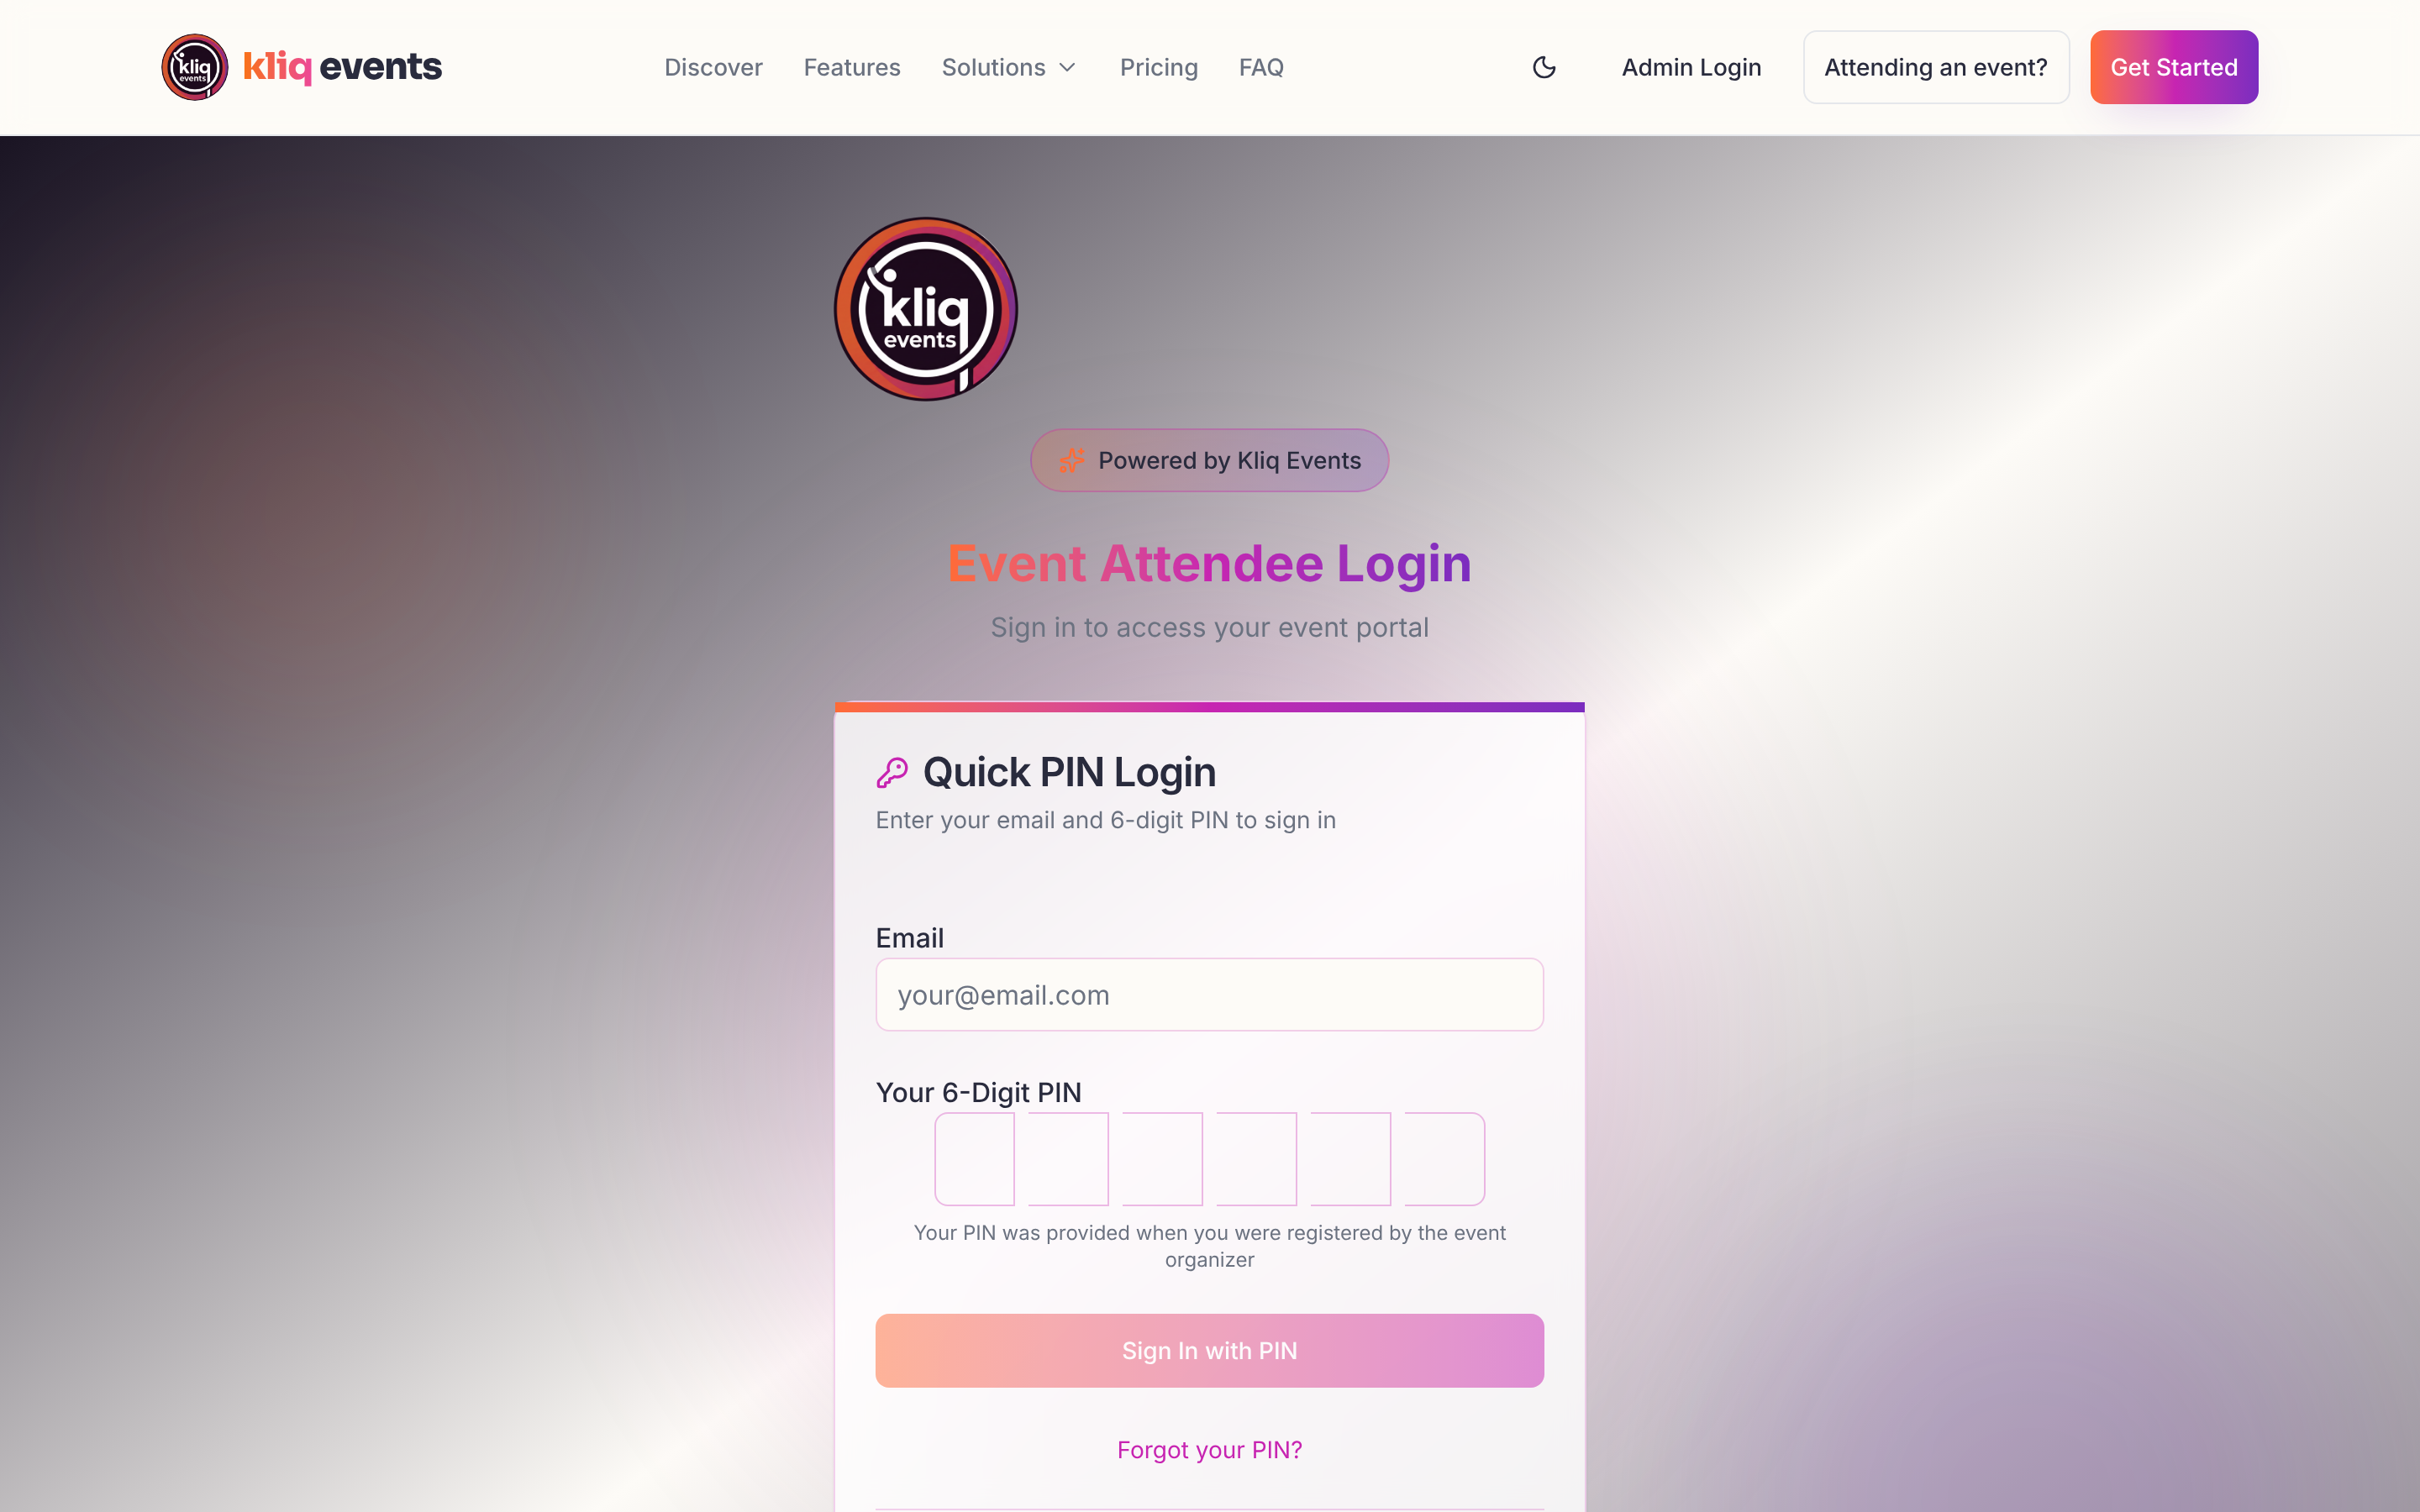
Where do I log in?
- Attendees / Participants: go to kliqevents.com/auth and enter your email + 6-digit PIN sent to you by the event organizer.
- Admins & Organizers: go to kliqevents.com/admin/login and use the email/password you set up (or the invite link sent to you).
1 / 2
First-time admin from an invite
1
Open the invite email
Click the sign-in link. It takes you to kliqevents.com/admin/reset-password to set your password.
2
Set a strong password
You'll be signed in automatically once it's saved.
3
Select your journey
If you have access to more than one role/event, you'll land on the journey selector. Pick where you want to go.
Insufficient access?
If you see the "Insufficient Access" screen, your invite hasn't been fully processed yet. Ask the primary admin to confirm you're added to the correct event.
Section 2
Admin Onboarding
Take the guided tour, switch between events, and add co-admins.
1 / 3
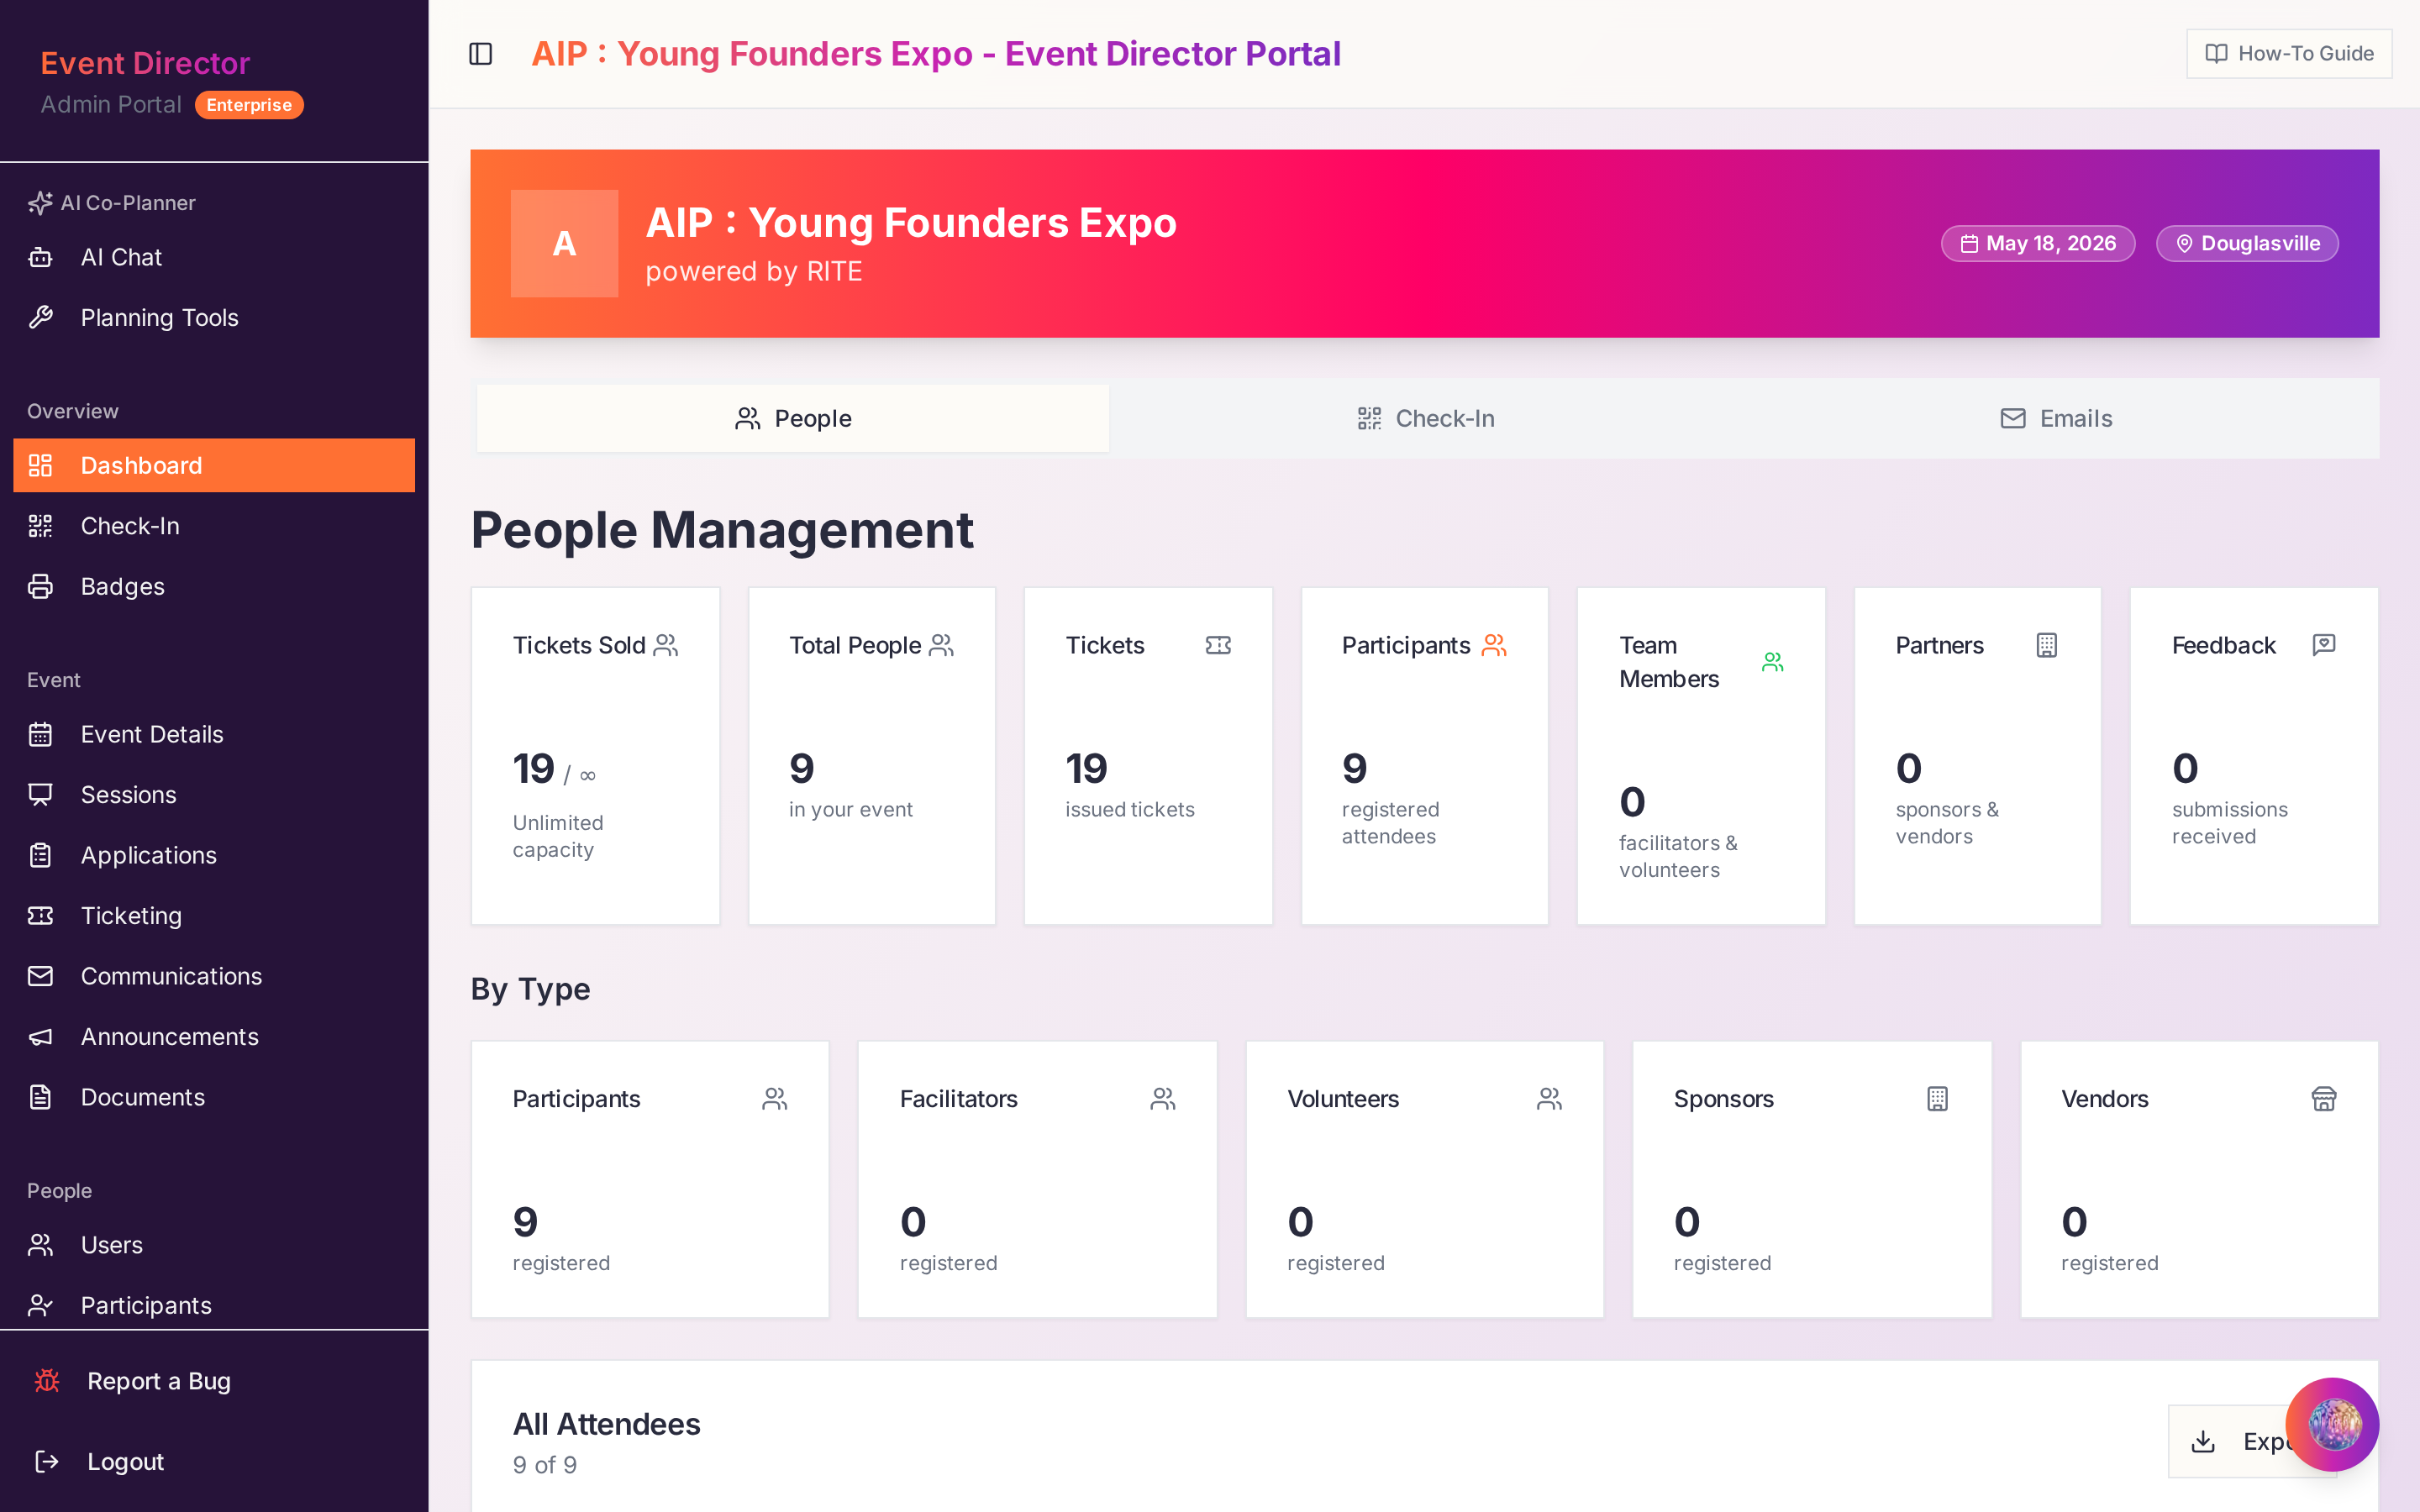
Take the guided tour
The interactive tour walks you through every part of the admin portal. You can run it as often as you like.
Reset the tour
Go to Settings → Onboarding to mark the tour as unfinished, and it will auto-start again next time you land on kliqevents.com/admin.
Adding another admin
1
Open User Management
Sidebar → Users. You'll see everyone with access to the current event/organization.
2
Click 'Invite user'
Enter their email, pick their role, and choose whether they get organization-wide access or a single event.
3
They receive an email
Your invitee gets a passwordless recovery link. Clicking it drops them into the reset-password flow described above.
Section 3
The AI Agent (Nomi)
Your co-planner for building events, drafting communications, and answering questions instantly.
Where to find it
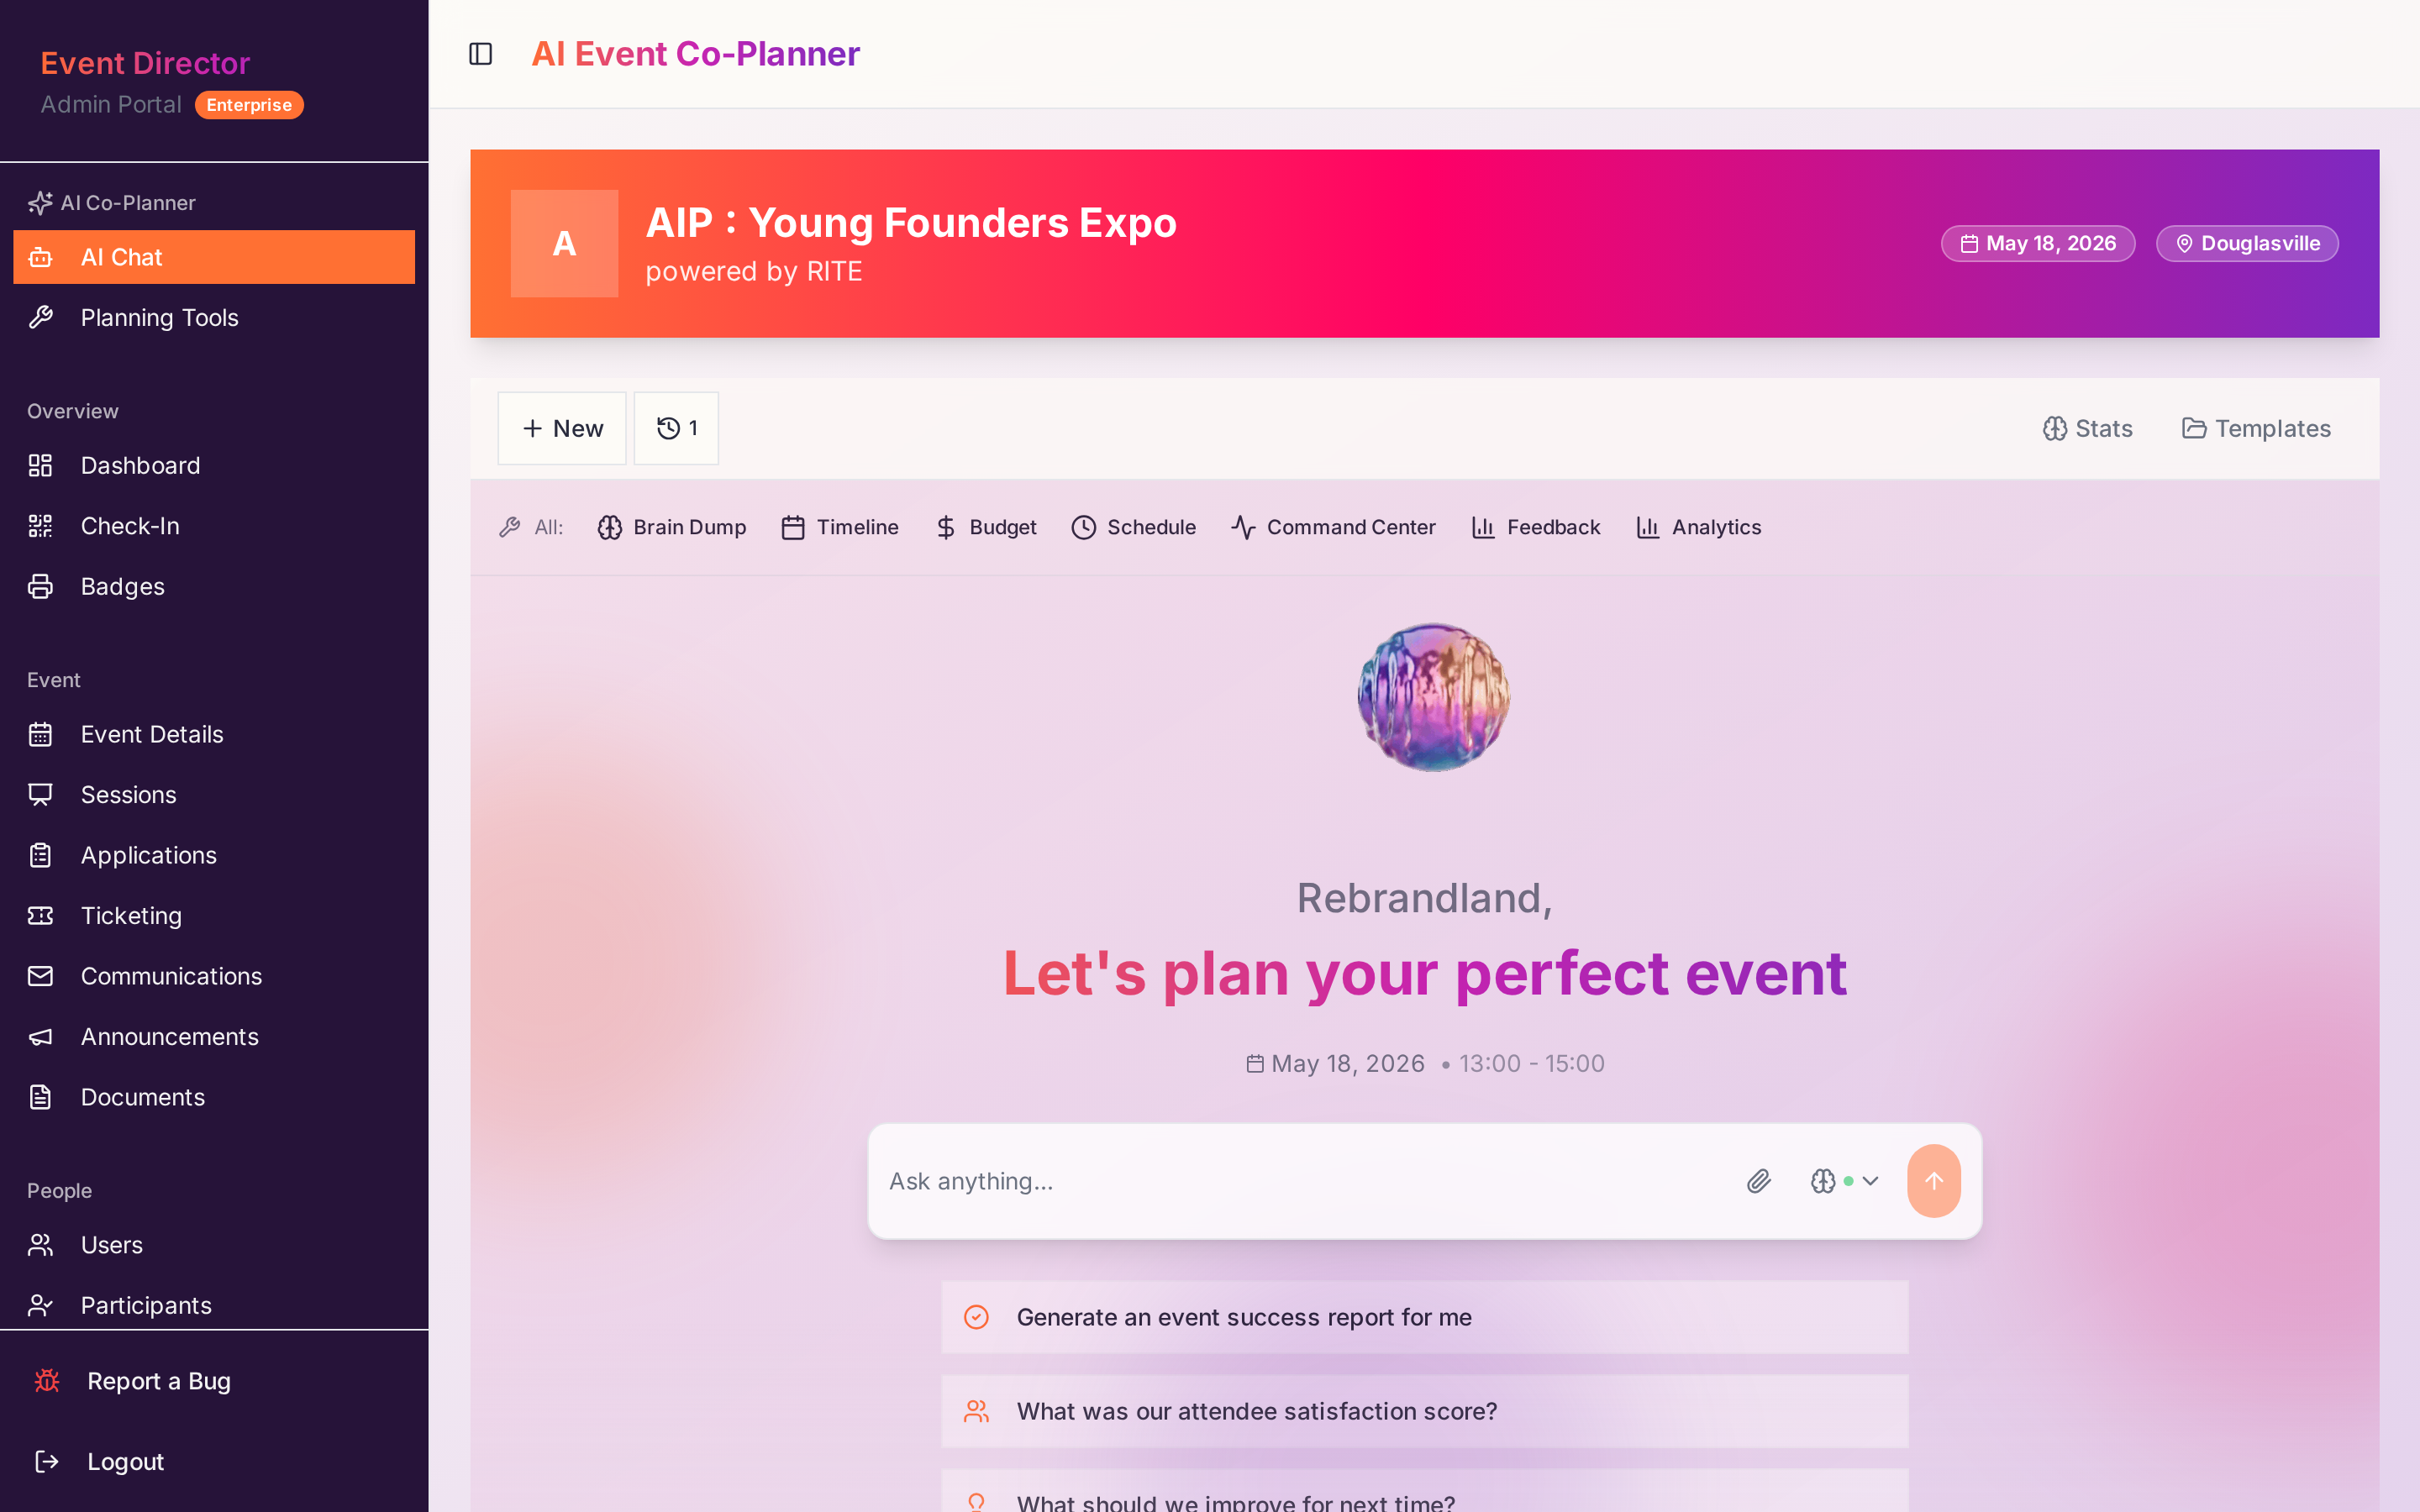
- AI Co-Planner: Sidebar → AI Planner. A full workspace for planning entire events end-to-end.
- Chat bubble: Available on most admin pages — click the animated icon in the bottom-right.
- AI Strategist (attendees): Available in the participant dashboard under the Support tab.
1 / 2
What the AI can do
- Create events from a description — name, dates, venue, description, ticket types.
- Draft communications — announcements, ticket confirmations, reminder emails, day-of updates.
- Generate schedules — sessions, tracks, facilitator assignments.
- Answer data questions — "how many volunteers approved?", "who hasn't checked in yet?"
- Bulk actions — approve/deny applications, assign groups, send batch emails.
- Explain features — ask "how do coupons work?" and get a walkthrough.
Try these prompts
Create a 2-day summit called "Founders 2026" in Miami on March 14–15 with 3 ticket tiers ($99 early bird, $199 general, $499 VIP).
Draft a reminder email to all approved participants going out 3 days before the event.
Show me every volunteer who hasn't been assigned a task yet.
Generate a session schedule with 4 tracks and 6 time slots for the current event.
Approvals for destructive actions
Anything that spends money, sends real emails to attendees, or deletes data will pause and ask for your approval before running. Review, then click Approve.
Section 4
Events, Tickets & Sessions
The core workflow: create an event, sell tickets, run sessions, check people in.
1 / 3
1
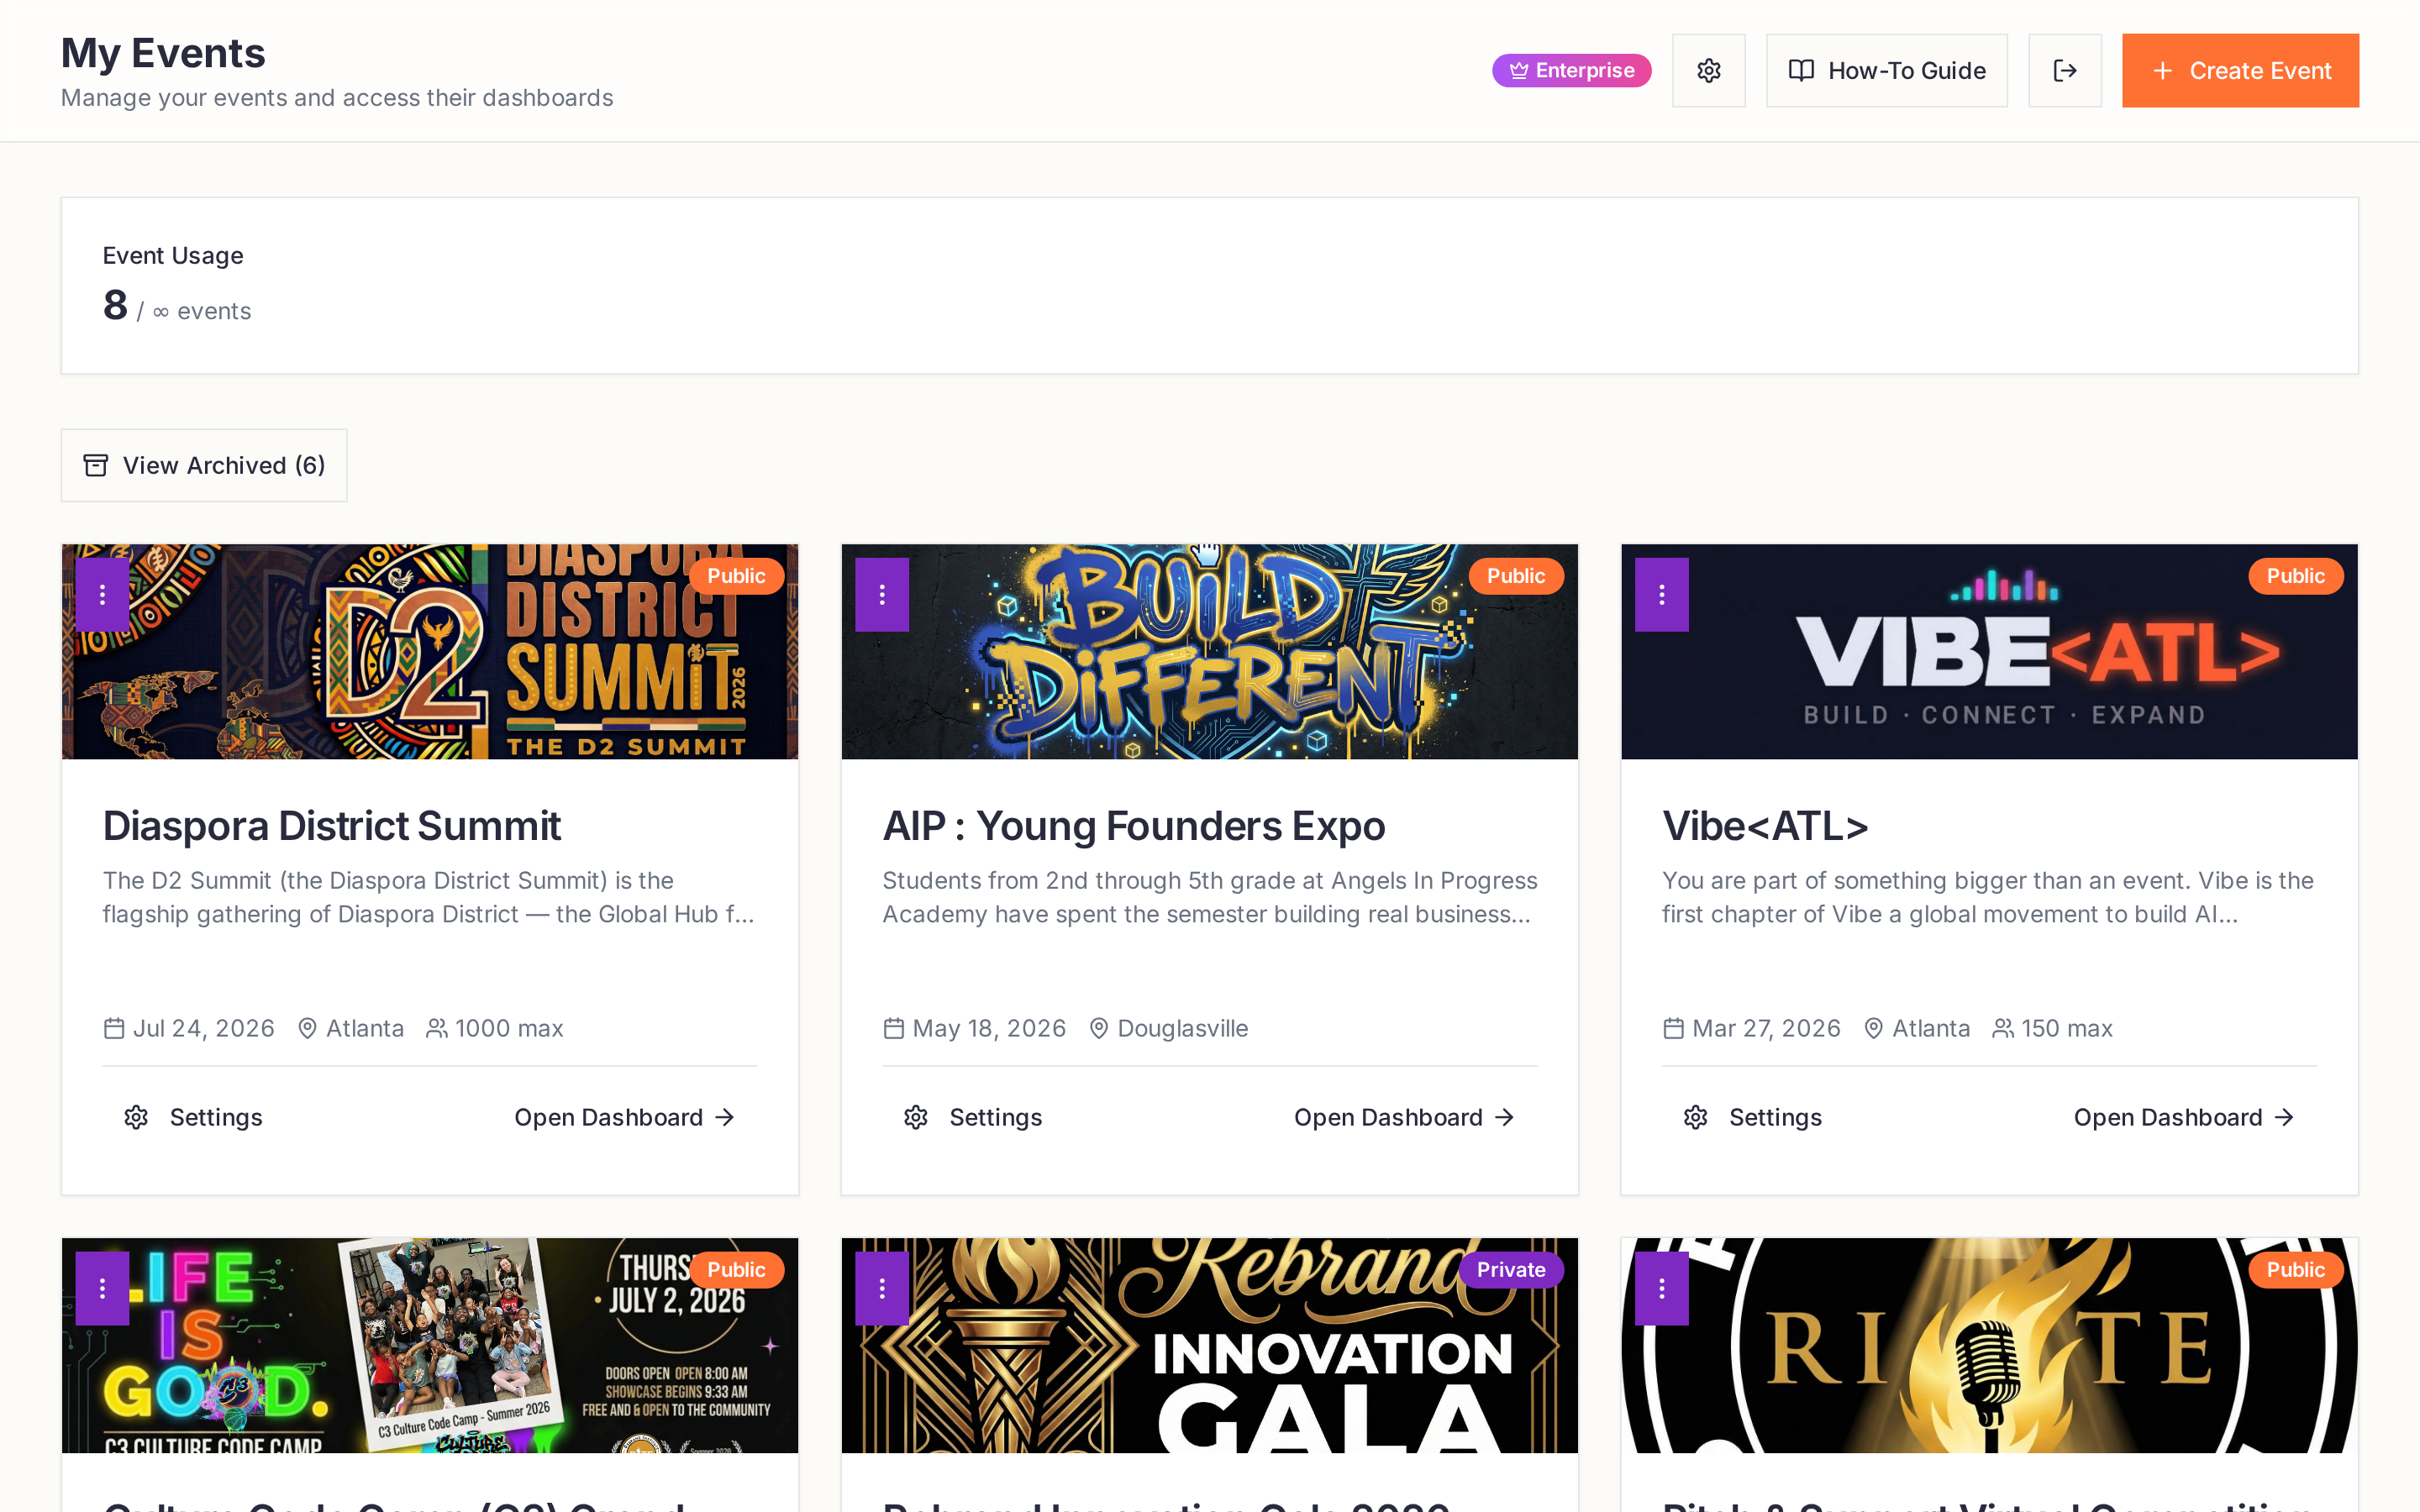
Create an event
Sidebar → Events → New Event. Or just ask the AI Planner. Every event has a public page at
kliqevents.com/events/<slug>.2
Add ticket types
Sidebar → Ticketing. Create tiers, set quantity, dates, and whether it's a paid or free ticket. Coupons are managed on the same page.
3
Build your sessions
Sidebar → Sessions. Assign facilitators, tracks, and time slots. Participants can browse and book from their dashboard.
4
Day-of check-in
Sidebar → Badges to print, or use any admin device's QR scanner on the Check-In page. Multi-day events check people in per day.
Stripe Connect required for paid tickets
Before selling paid tickets, connect your Stripe account under Organization Settings → Payments. Without it, checkout is disabled.
Section 5
Communications & Announcements
Send emails, publish announcements, and schedule reminders.
1 / 2
1
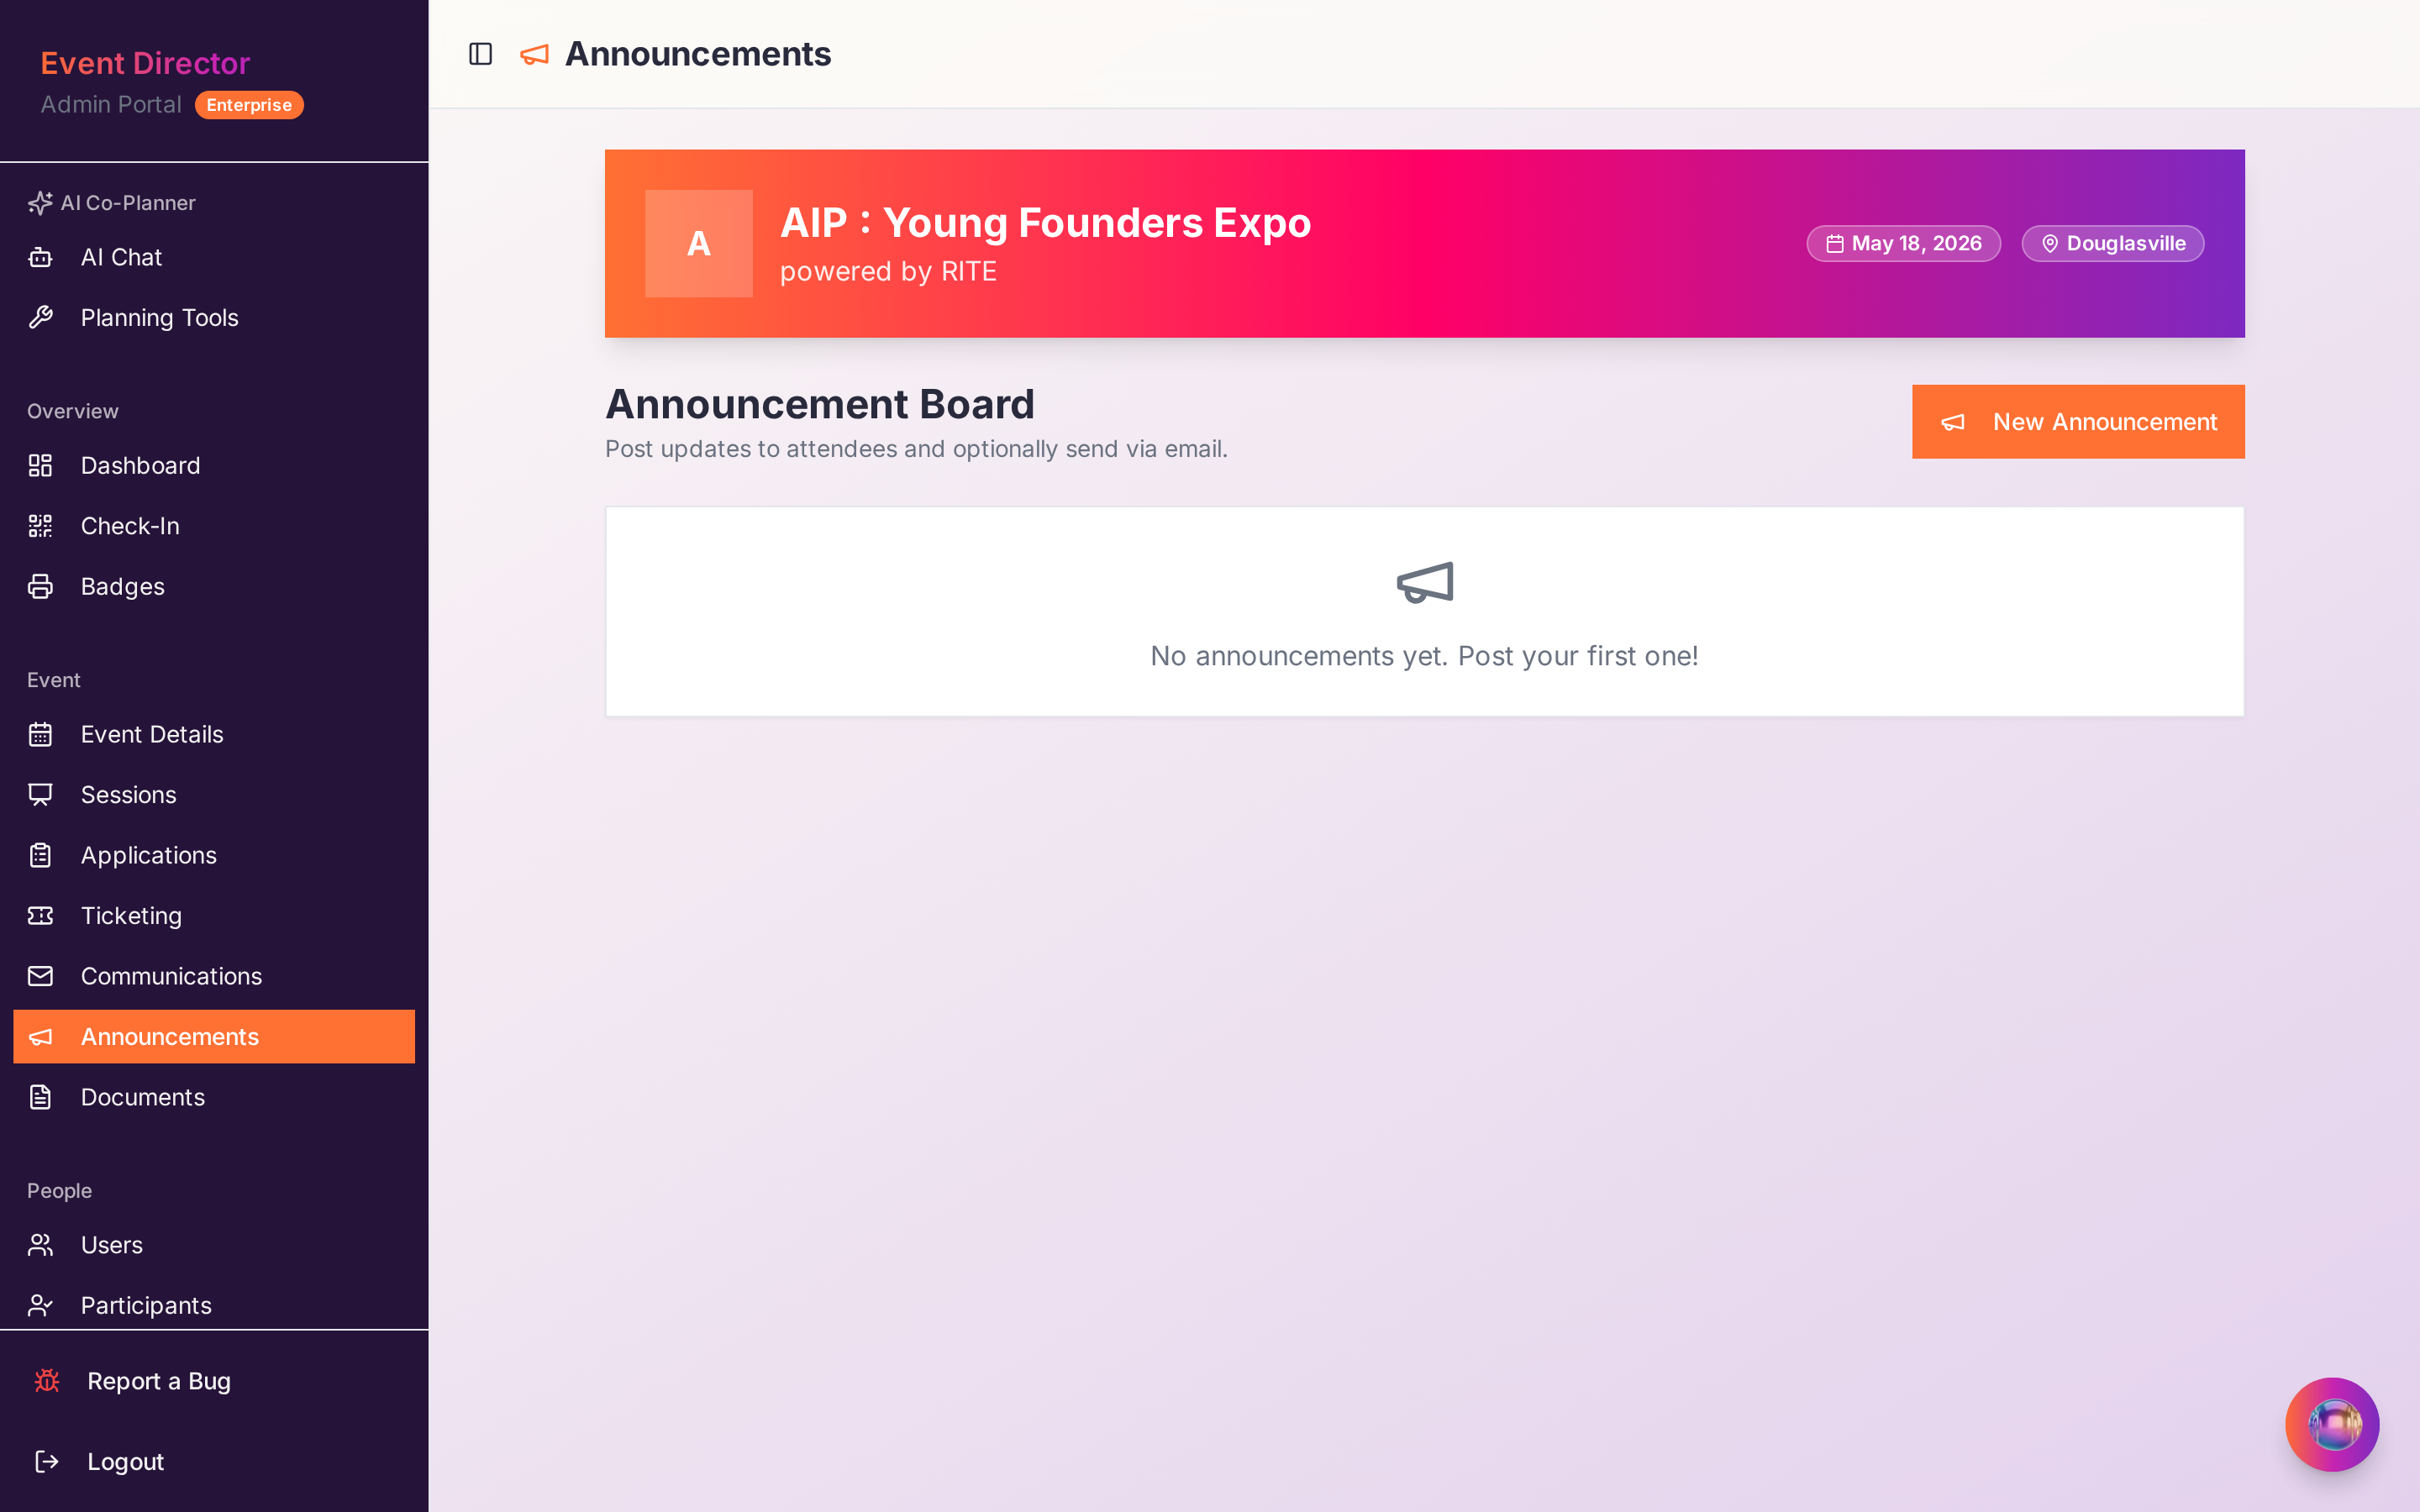
Announcements
Sidebar → Announcements. Post news that appears in the attendee feed and (optionally) triggers an email. You can schedule them for later.
2
Communications
Sidebar → Communications. Send targeted email blasts — filter by role (participant, facilitator, volunteer), status, or custom criteria.
3
Ticket email templates
Sidebar → Ticket Emails. Customize the confirmation email attendees receive after buying a ticket. Personalize with tokens like
{{first_name}}. Section 6
Attendee & Participant Portal
What your attendees see once they sign in.
1 / 3
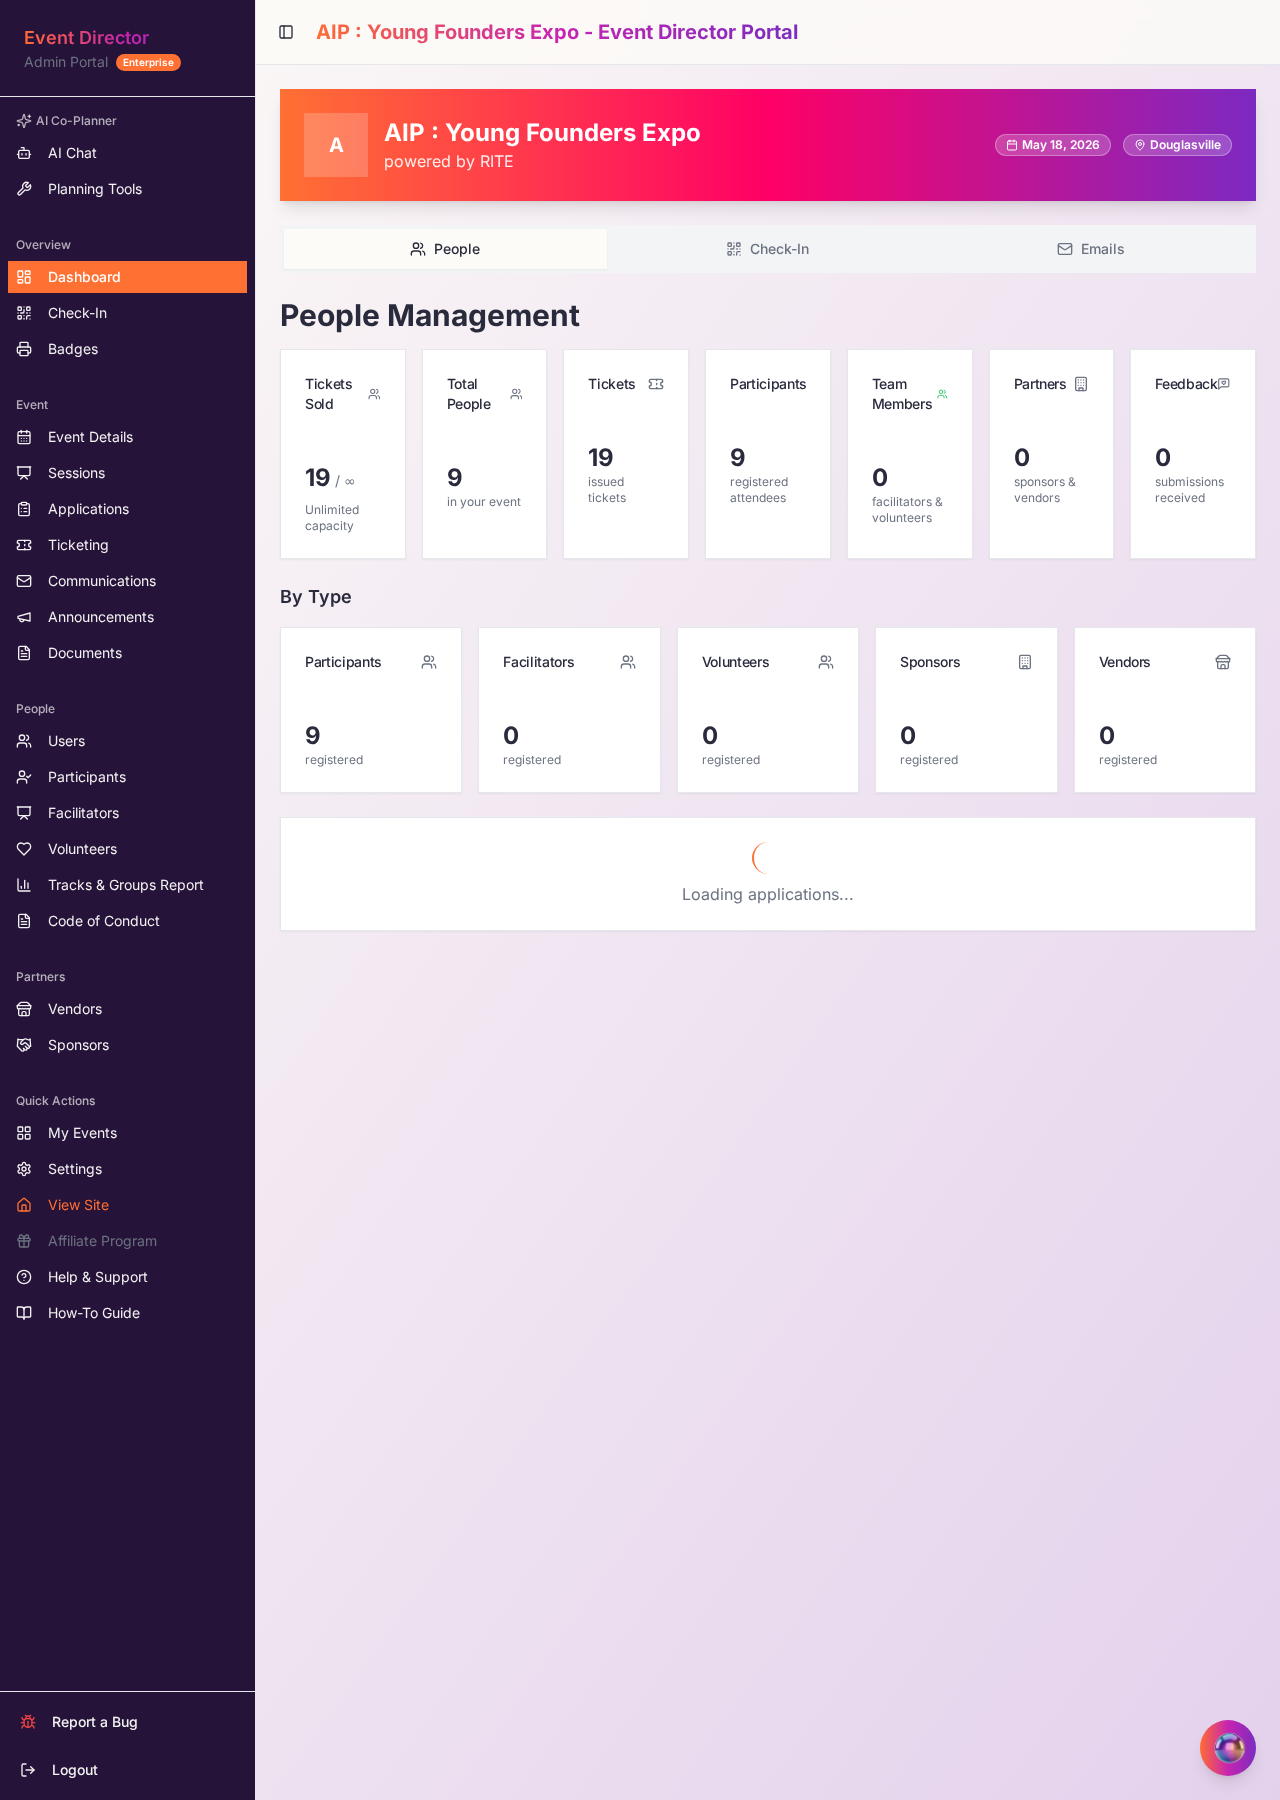
Key tabs
- Check-In: Show the QR badge to event staff.
- My Sessions: Personal schedule, session materials, join links.
- My Tickets: View, transfer, or claim tickets purchased for others.
- Network: Browse attendees, send connection requests, message.
- AI Matches: Curated matches based on interests + goals.
- My Meetings: Book 1:1 meetings with other attendees.
Transferring a ticket
Attendees can reassign an unclaimed ticket to someone else from My Tickets → Transfer. The recipient gets a claim link by email.
Still stuck? Reach out from the Help & Support page inside your admin portal.